Wednesday, February 16, 2011

Entertaining the Little Ones

I've been thinking a lot recently about having kids at our wedding. I mean, I've heard all the reasons not to. They'll scream during the ceremony (or worse, cry), run around at the reception, parents won't be able to enjoy themselves, and so on.

But then, I look at pictures like these:


(images from google)

And really, how could we not invite kids?

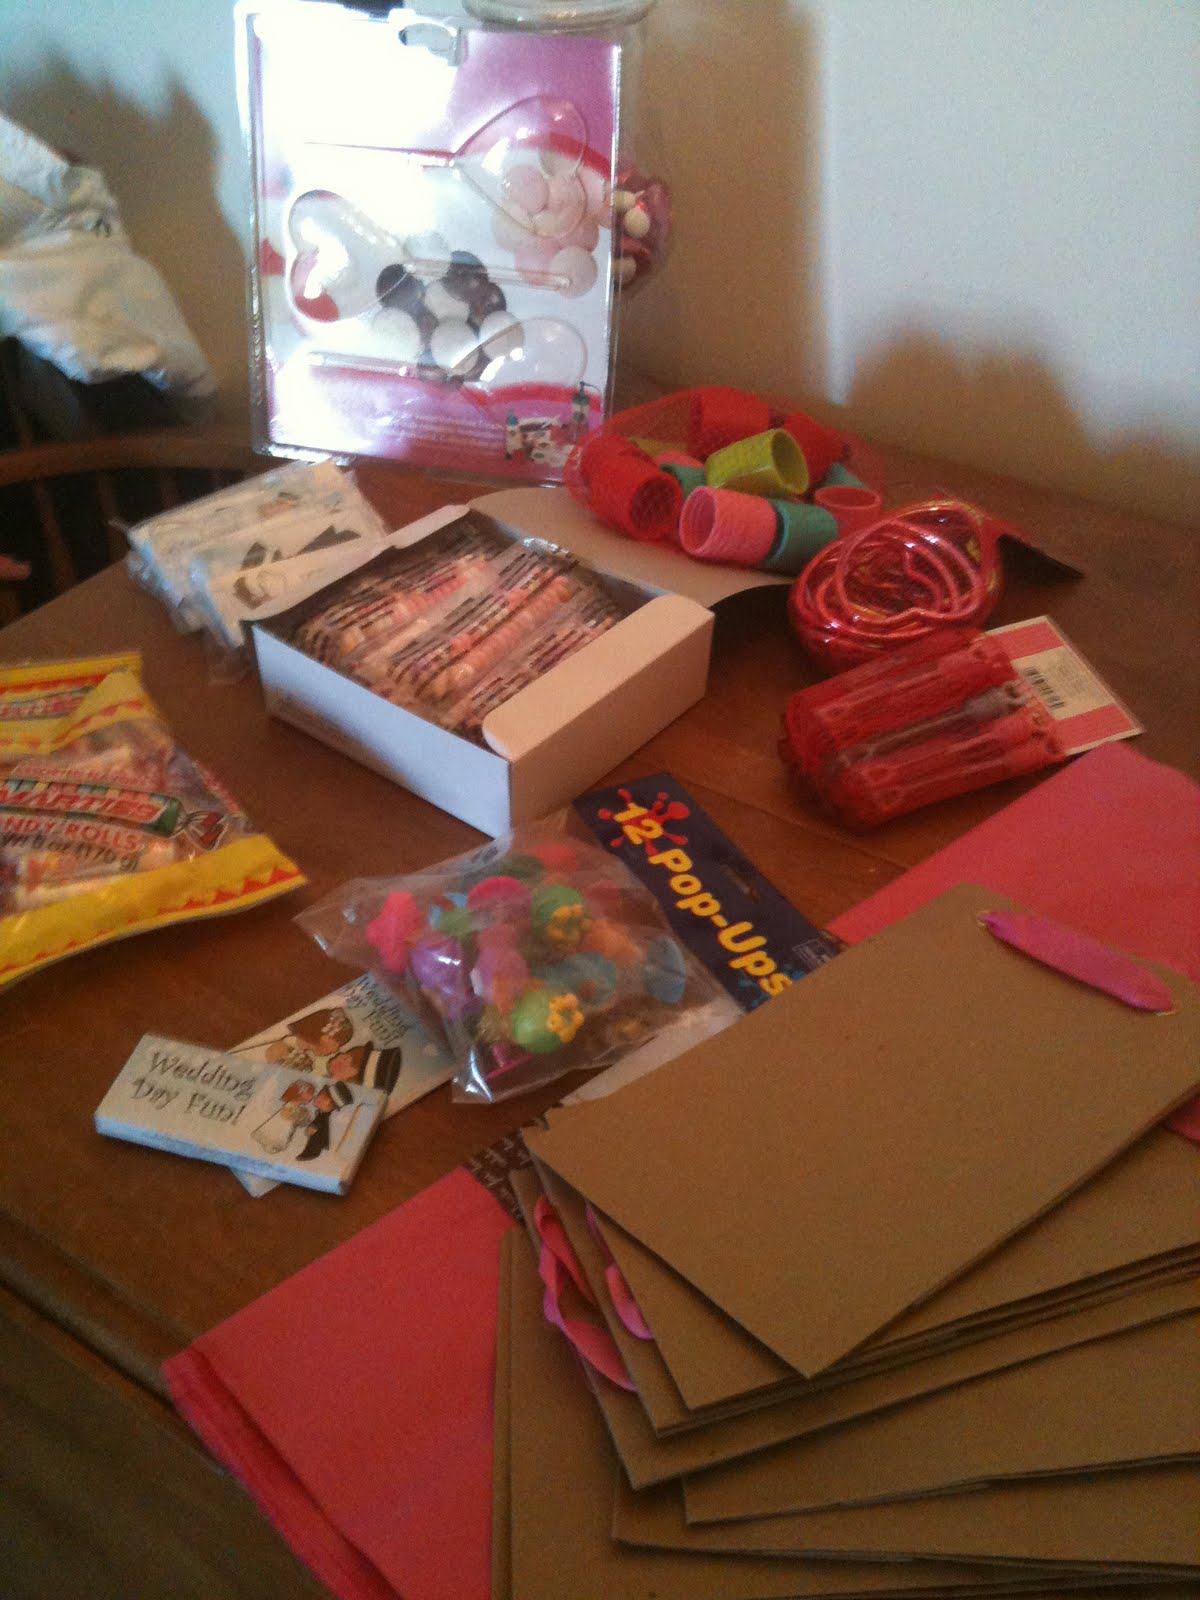
Once it was decided to invite the kidlets, it seemed only natural to offer them their own favors, full of fun kid-sized things to keep them entertained. Did you know that everything Valentine's Day goes on clearance for up to 75% off? Lucky enough, one of our wedding colors is pink, so I took full advantage of these sales at my local Target and WalMart. Here is what I came up with:


Are you having kids at your wedding? How are you keeping them entertained?

Tuesday, February 15, 2011

Banding my Belly

With just about 200 days until the big day, I have started to put my thoughts toward our invitations. You may remember I already purchased our DIY invitation kits from Michael's, what seems like ages ago (to be revealed later). Ever since July (or possibly June) they have sat in a plastic tub in "wedding central" (better known as behind hubby's recliner).


(personal photo)

See the BRIDES box peeking out of that top box? Those are my delicious invites. That box has sat right there for almost a year now. And pretty soon, it will be gone.

You can probably see that my invites have a ribbon tied around the neat little package, all laying inside a pocket-fold enclosure. It was only recently that I learned that is what is called a belly band. I love belly bands!! In fact, I think it's fair to say that I've become obsessed.

Just look at how they make each invitation look like a little present, each in it's own cute packaging!


(each photo taken from google images)

But my absolute favorite of these, and one I can apply directly to my own invitations, is this:


I adore the addition of the pink ribbon underneath the thin brown satin ribbon. It's just one more reason I can not WAIT to start putting my invites together!

What little details are you adding to your invites to make them especially yours?

Wednesday, February 9, 2011

8 Months To Go!

We've officially made it to the half-way point!

Did you ever notice how when you first became engaged and received those monthly emails from The Knot it was exciting to see how the months counted down, and now that there's significantly less than a year to go, it's like a deadline looming over your head? Has it always said "You only have X months to go", like it knows you're behind on your planning and projects?

In the email for this month is to book the musicians and DJ, set up our wedding website, and register for gifts. Thanks to a very organized mother of the bride we have our musicians and DJ already (woot woot!) and thanks to a future husband who enjoys using a pricing gun we're all registered.

Our wedding website was set up over the summer so that guests could view it when they received our save the dates. All that is left to do with that now is to update certain parts (like meal choices and hotel options) as things begin to come together.

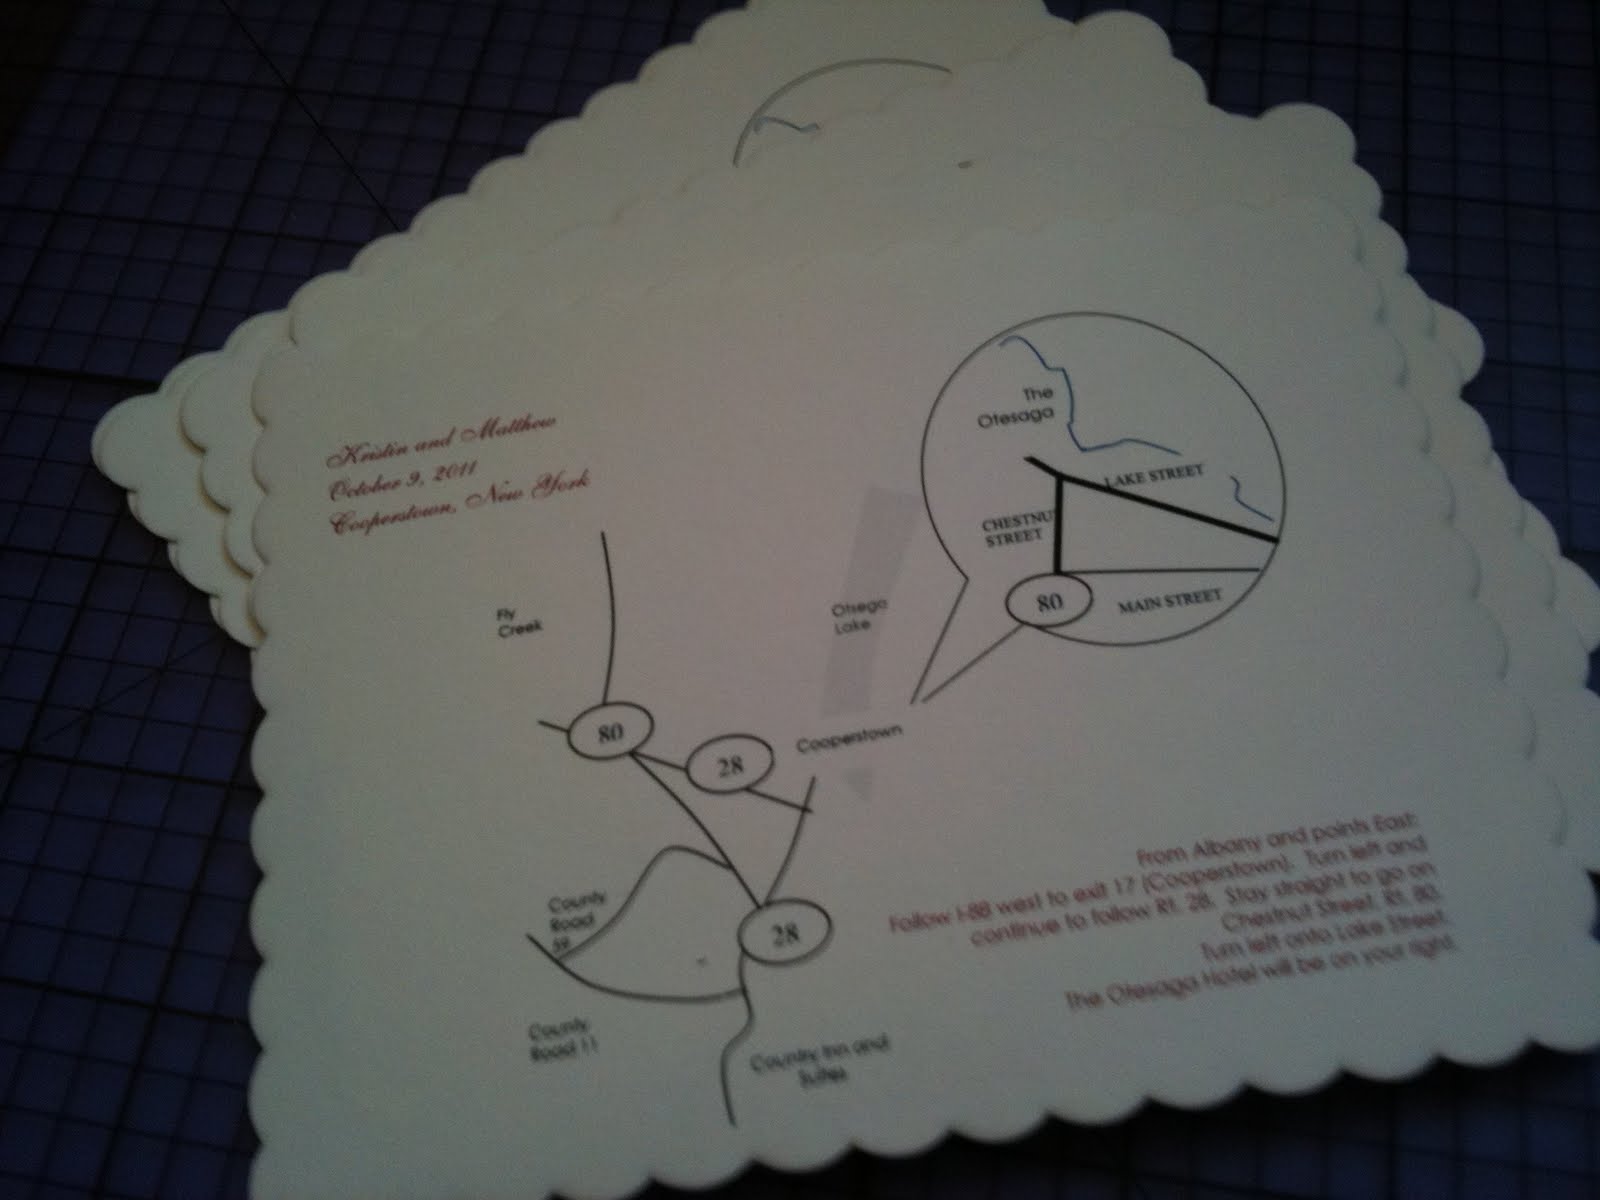
So what's left for this month? The wedding map! Yikes! This little detail has been looming over my head for months. At one point I even considered not including one just so I wouldn't have to deal with making it.

But then, da, da-da, da!! I found the most amazing website ever! www.weddingmapper.com allows users to create a wedding map for free (you have to sign up for a free account, but it's so worth it!) and offers printing instructions as well! For DIY-ers out there like myself, the instructions are pretty fool-proof, offering word instructions as well as step-by-step pictures of what your screen should look like. They even tell you how long it should take for you to create your own map (and boy, were they right!)

5 arduous hours later, this is what I came up with:


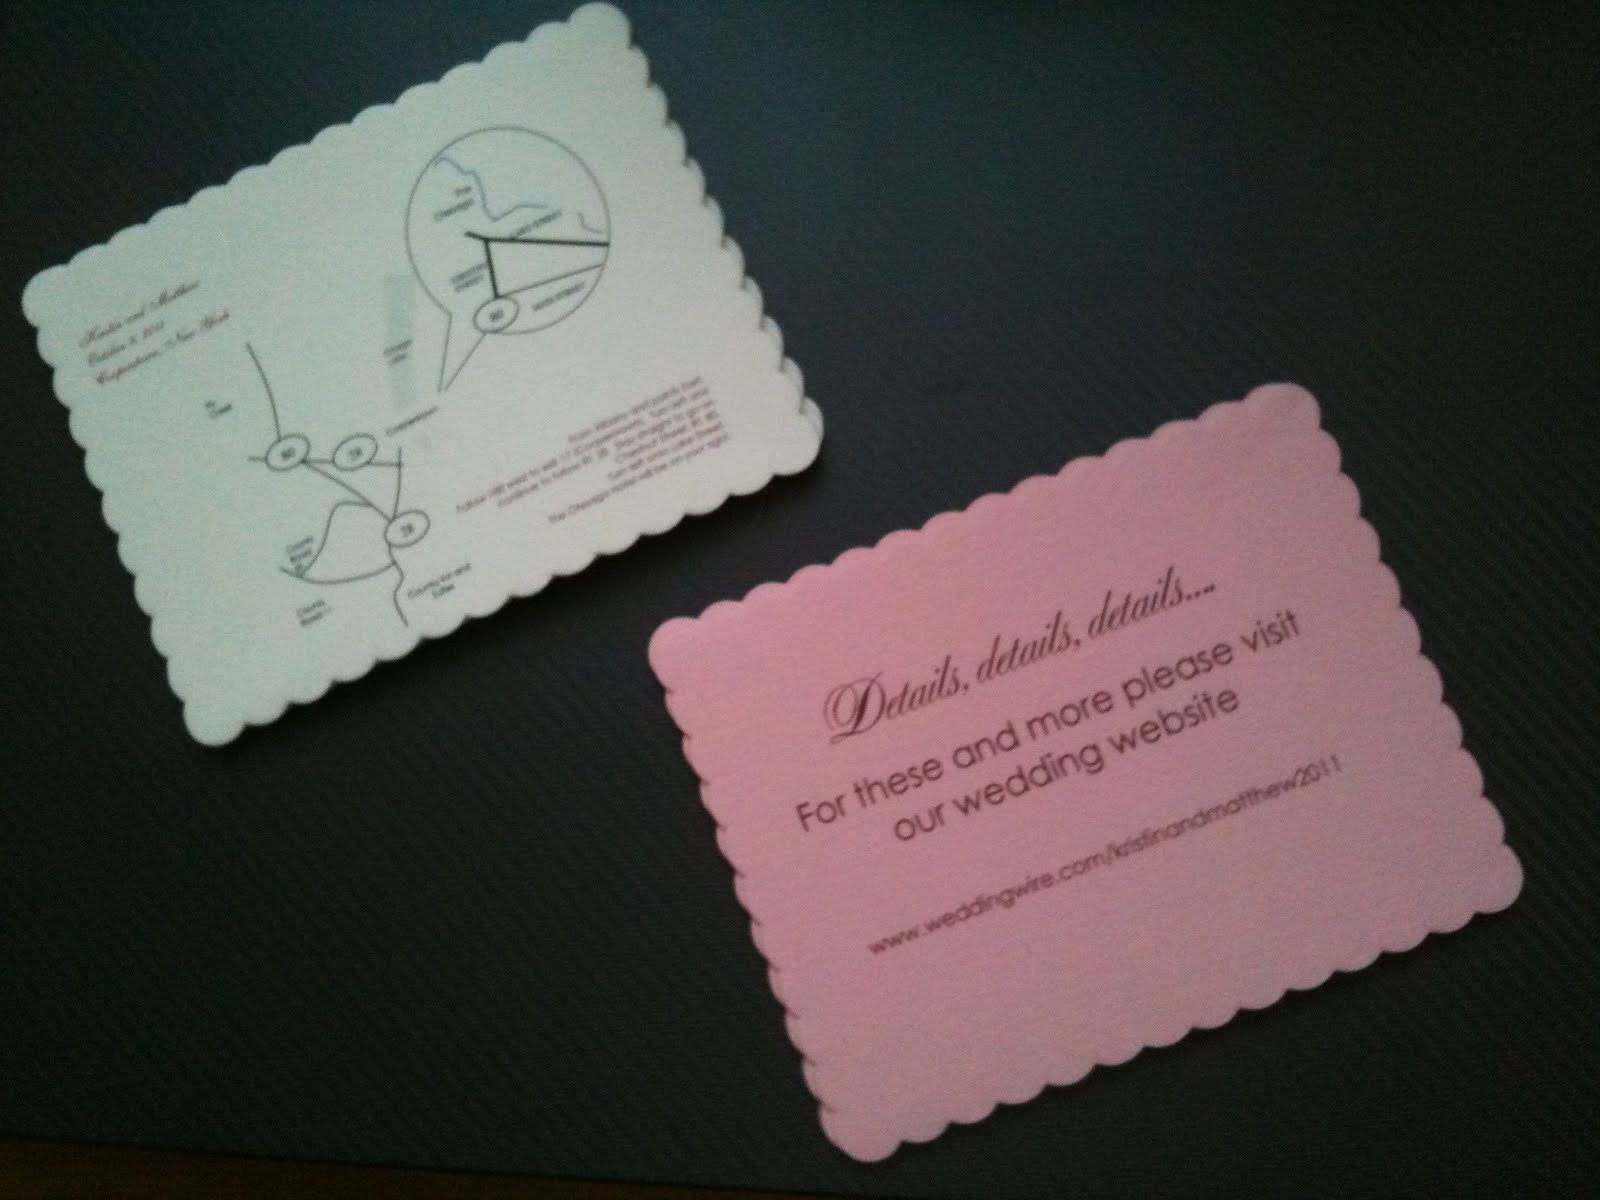
I found the cardstock at Staples. It's not that cheap at $4.50 per 10 cards (especially since I'll need 80 cards total just for the maps) but it's great quality and well worth it in the end.

While I was at it, I found cute pink cardstock in the same design at Staples, and just had to buy some. Here is what I came up with for them:


What special touches are you adding to your invites?

Tuesday, February 1, 2011

Return to Sender

We are determined to move out of our apartment. It feels like the walls are closing in on us. We need more space. Lots of space.

But what about our wedding invitations? I had planned on writing each address in calligraphy myself! If we move in June, and the invitations go out in July, there definitely won't be enough time for all that work to be done! So what is a bride to do?

There are options. I can use address labels for the return address, but that would look funny with handwritten sending addresses.

Wrap-around labels are becoming a popular choice among modern brides. And despite my affection for these beauties, I felt like it would make our invites just a little too casual. Call me old-fashioned. But aren't they adorable?


But then, during my daily perusing of the deliciousness that is weddingbee, I came across another bride's similar dilemma. It is here that I came across the perfect solution. A custom return address stamp, using just our first names so that we can also use it after the wedding!

And so of course I went directly to etsy, where I assumed I would find exactly what I was looking for. Here is what I've found:

These first two are beautifully written with a script font.


And then I found this one with a delicious flourish.


These two have adorable designs surrounding them. I particularly love the one with the birds, which would bring together our emerging love birds theme quite nicely.


And of course, there's the modern look. Circular address labels are coming out, in a big way.


Last, my favorite. I absolutely adore the text with the cute heart in the middle!


And so, crisis averted. I can't wait to know our new address so I can put my order in! How are you addressing your invites?

Gymming in January

Remember back in December when I vowed to start going to the gym in January, and that I would only cross off the days on the calendar that I actually went to the gym? Well, a whole month of that has come and gone, and the results are in:


As you can see, we didn't really go to the gym this month. At all. In fact, we didn't go once. The days that are crossed off are only crossed off because I exercised those days in the apartment.

This month is going to be different. We are expecting two feet of snow in the next two days, so exercise will be limited to the apartment, but after that, it's gym time!

Thursday, January 27, 2011

Let's Get Organized!

For those of you that know me, I'm a list maker. What can I say, I come from a long line of VERY organized list makers, and it's rubbed off on me.

And so, it of course only makes perfect sense that I would carry this deep need to list into the wide world of wedding planning.

Now when I first became engaged I was lucky enough to receive a few wedding planning books from friends and family. I loved everything about these organizing gems. Except...one binder was great for adding my own ideas, while another had excellent templates to, ahem, "borrow". Yet another had lots of advice I wanted to be sure I had instant access to.

So what's a bride to do? It seems silly to keep all three books (which is what I have been doing for almost an entire year now). Finally this morning, I opened up weddingbee, and there it was, staring me in the face. The ultimate wedding binder!

And of course, I took it upon myself to collect the supplies to make my very own. And just a few hours later, here it is for you to feast your eyes on!


Inside this delicious front cover are page upon page of organized templates, magazine photos and articles, and great ideas that all have been carefully selected as they pertain to our wedding.

And on the back....


How are you storing all the eye candy for your wedding?

Tuesday, January 25, 2011

Thank You for Coming!

Our favors have finally arrived! We had debated about this for months. What should our favors be? Peas in a pod salt and pepper shakers? Wine stoppers? Coasters? Plants? Chocolate? There was just an endless supply of possibilities, and we weren't exactly crazy about any of them.

Unless it's edible, people are going to leave them behind. A CD of our favorite songs? Great for us, but unless you have the same musical tastes as we do, what are you going to do with it? Throw it out or leave it behind. The same goes for picture frames with our wedding date on them, coasters containing pictures of us, the list goes on and on.

I'm not trying to be cynical, I'm simply trying to get the most out of our investment.

We finally decided on two favors: bird-shaped homemade sugar cookies (to accompany our vintage theme and celebrate a family of bakers) and a donation to the We Move Organization, in honor of my father who passed away 3 years ago.

The sugar cookies were, admittedly, a last-minute add-on. I really wanted something edible to be included, and I really wanted to make them myself. We are having a birdcage for our card holder, and birds on our guest book, so it made sense to tie in the bird theme in just one more area. Plus, I love baking sugar cookies.

The donation was tricky; how were we going to let people know?

One day I came across a great idea - mini bookmarks! One side would have our engagement photos on them, and the other side would let our guests know about the donation. And so the research began.

I decided I needed ribbon and eyelets to make a more complete "bookmark" look. The perfect ones were found at paper-source.com. I didn't have to wait long - my package came in t-minus two days! I highly recommend them to any other DIY brides out there.


While the eyelets themselves were only $1.50 per package, in order to use them I also needed a very small hole punch and an eyelet setter. Before I knew it I had spent $25, but just look at the cuteness it produced!


(these are mini cards bought on moo.com - a bit small, but nice and thick!)


(Max loves to help with all my DIY projects!)