Did you ever notice how when you first became engaged and received those monthly emails from The Knot it was exciting to see how the months counted down, and now that there's significantly less than a year to go, it's like a deadline looming over your head? Has it always said "You only have X months to go", like it knows you're behind on your planning and projects?
In the email for this month is to book the musicians and DJ, set up our wedding website, and register for gifts. Thanks to a very organized mother of the bride we have our musicians and DJ already (woot woot!) and thanks to a future husband who enjoys using a pricing gun we're all registered.
Our wedding website was set up over the summer so that guests could view it when they received our save the dates. All that is left to do with that now is to update certain parts (like meal choices and hotel options) as things begin to come together.
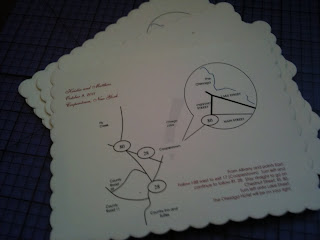
So what's left for this month? The wedding map! Yikes! This little detail has been looming over my head for months. At one point I even considered not including one just so I wouldn't have to deal with making it.
But then, da, da-da, da!! I found the most amazing website ever! www.weddingmapper.com allows users to create a wedding map for free (you have to sign up for a free account, but it's so worth it!) and offers printing instructions as well! For DIY-ers out there like myself, the instructions are pretty fool-proof, offering word instructions as well as step-by-step pictures of what your screen should look like. They even tell you how long it should take for you to create your own map (and boy, were they right!)
5 arduous hours later, this is what I came up with:


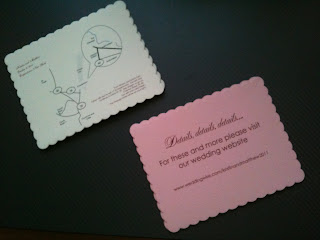
I found the cardstock at Staples. It's not that cheap at $4.50 per 10 cards (especially since I'll need 80 cards total just for the maps) but it's great quality and well worth it in the end.
While I was at it, I found cute pink cardstock in the same design at Staples, and just had to buy some. Here is what I came up with for them:

What special touches are you adding to your invites?

No comments:
Post a Comment